Creating Library Items
How to create Folders and Projects in the Library
Contents
"Library Items" is the generic term for Projects and Folders. Items can be placed anywhere in a hierarchical structure, much the hard-drive on your computer.
There is no limit to the number of Items in the Library, nor depth of the tree structure.
To put this into context, a company can (and do!) have multiple offices and thousands of users using the same Library; there is no practical limit.
The Library Item Types
Mashoom current has 2 types of "Item" in the Library module:
- Project - A placeholder for a selection of other Items. This can't have any content put inside it, instead only sub items can be put underneath it in the tree structure.
- Folder - The most common building block of the Library, can store files and have sub-Items.
Adding an Item; as a Macro Admin or Internal User
To create a Library Item, open the main menu and click the + symbol under the "Library" section. If you can't see this, you may not have this module enabled, or you don't have permission to add Items this way. Read the next section on adding Item as an external user, or contact an account admin about this.

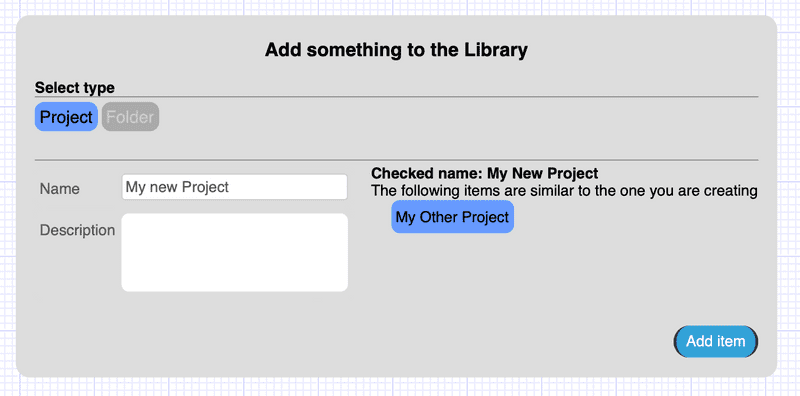
Firstly, select which type of Item you are adding. Once this is done the corresponding options will drop down; an input for a name and description.
The name must be longer than 4 characters long, although it's advisable to be as descriptive as possible. When a valid name is typed in, the section to the left will show if any other Items in the Library have similar names. This should be used to try and avoid duplicated names where not necessary.
The name is automatically camel cased and uncommon characters are removed, the result of this can be seen after "Checked name:".
Click the "Add Item" button to create the Item, it will be placed at the top level of your Library.
Adding an Item; all users with "Add" permissions to Item
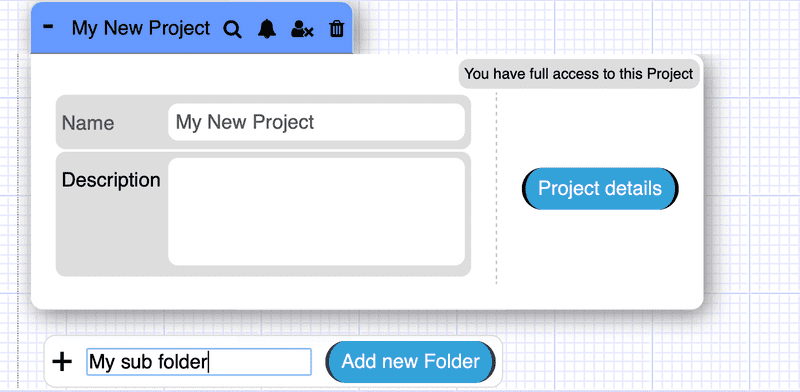
This method is a quick way to add Folders for all users, but is the only method to add Folders as an External user. Under every Item that you have permission to add content, you will see a blank folder with "New folder name" in grey. Start typing into this input field and once a name over 4 characters is entered a "Add new Folder" button will slide out.

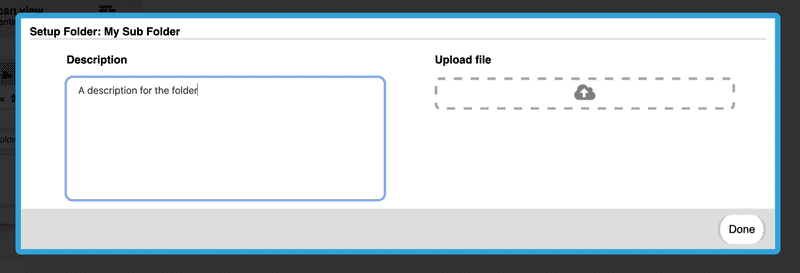
Once you have clicked "Add new Folder", an interface will appear giving you options to upload files and add a description. This is only for convenience; these actions can be done at a later date and this dialogue can be clicked out of.

Your new Library Item

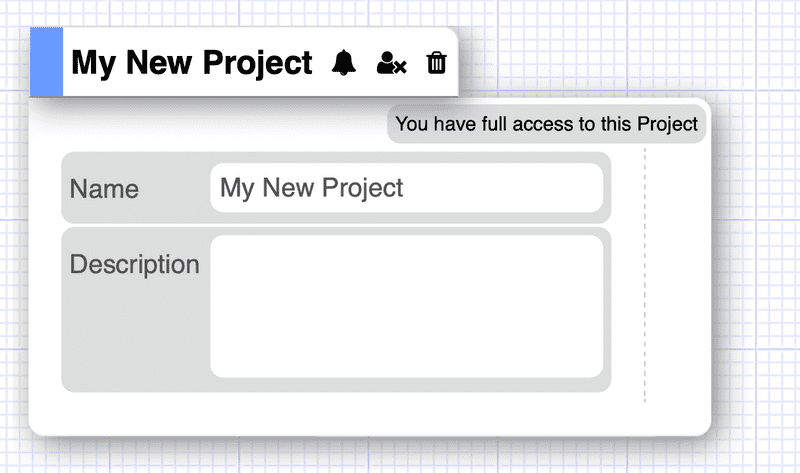
You will be taken to the Item details page of your newly created Item. There is not much to see for a Project as they are mostly placeholders for other Items, but you can setup permissions tutorials at this point.